How to Lay Your Driveway Gravel in 8 Easy Steps
Lay your driveway gravel project overview
- Measure your driveway
- Choose your gravel
- Choose your driveway edging
- Dig the area for your gravel driveway
- Lay the gravel driveway sub-base
- Decide on a weed-prevention membrane
- Decide on a gravel grid
- Add your gravel to the drive
- Gravel driveway FAQs
Are you thinking about improving the exterior of your home but have a limited budget?
A gravel driveway is the perfect way to enhance your home’s curb appeal, but if you think this solution may stretch your budget, it’s time to think again.
Why not consider laying a gravel driveway yourself? Trust us; it can be a fun and affordable project that’s much easier than you may have thought initially.
Regardless of your landscaping experience, constructing a gravel driveway is pretty simple. With our 8-step guide and a little motivation, you will have all you need to create a stunning new driveway for your home.
- Gravel for an attractive finish.
- MOT Type 1 levelling material for your sub-base layer
- Weed Prevention Membrane for water drainage and weed resistance.
- Driveway Grids – To prevent your gravel from rolling away (Optional)
- Driveway edging (Optional)
HOW TO LAY YOUR GRAVEL DRIVEWAY IN 8 EASY STEPS
STEP 1: MEASURE YOUR DRIVEWAY
The first step is to measure your driveway so that you can calculate how much materials you need to order.
As a general rule of thumb,
- Gravel – five tonnes of gravel will cover approximately 50 Square Metres at a depth of 50mm, which we recommend for gravel driveways (not including the sub-base).
- MOT Type 1 – five tonnes of MOT Type 1 will cover 15 Square Metres at a depth of 150 mm, which we recommend for a base layer.
To help you work out exactly how much gravel and MOT Type 1 you need, use our gravel calculator tool or speak to one of our aggregate specialists on 01536 216487, who will be able to provide you with the exact quantities you need for your project.15 Square Metres

STEP 2: CHOOSE YOUR GRAVEL
The next step to creating a stunning new gravel driveway is choosing your gravel. Gravel is amazingly versatile and suits every style and age of property.
It’s important to consider the type, size and colour of gravel that will be the best for your driveway project and budget.
At Bullimore’s, we sell extremely competitively priced gravels that would work even for the tightest of budgets.
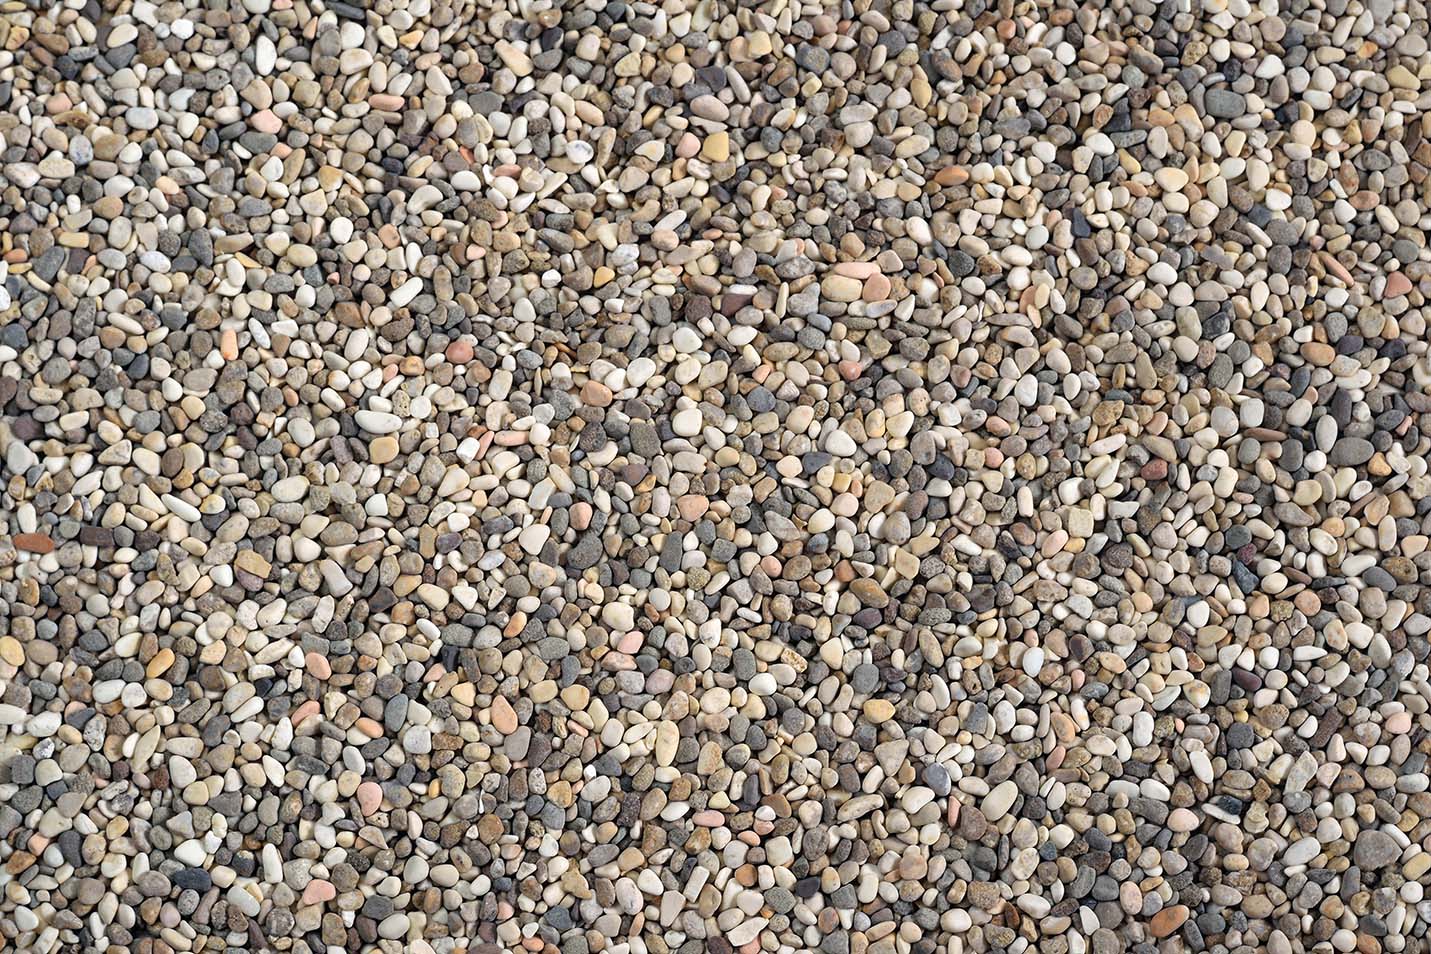
- Our pea gravel is available in 10mm, an ever-popular mix of greys, browns and creams, and a traditional landscaping favourite.
- Our limestone gravel comes in 10mm and 20mm sizes.
- Our standard driveway gravel is available in 14mm and 20mm sizes and is a mix of gold, grey and brown colours.
If you’re looking for something else or have something particular in mind, click this link for inspiration.

Step 3: Choose your driveway edging
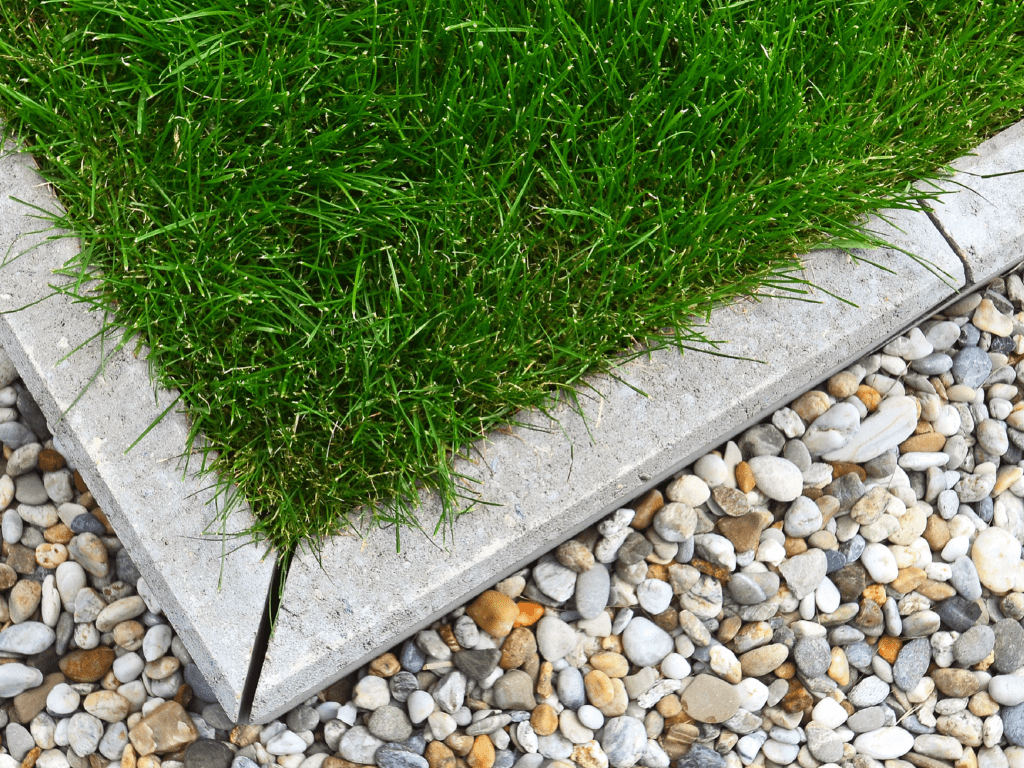
Choosing a border for your gravel driveway is integral to the design process. Driveway edging can be a finishing touch that will undoubtedly impact the overall appearance and give your driveway the wow factor.
There are a variety of driveway border concepts to choose from, from solid block borders to using boulders and stones to create a natural edging. Each style will come in a wide choice of colours and finishes, so you can be sure to find one that will complement your chosen colour scheme. Click here for this year’s trending driveway border designs.
TOP TIP: It’s worth noting that solid block borders, beyond looking stunning, have the added benefit that they will help contain the gravel within your driveway area – but you do need to make sure they stand taller than the gravel.
Step 4: Dig the area for your gravel driveway
Now that you have fully designed the aesthetics of your driveway and know what finishing products you’re going to lay, it’s time to get your work gear on and start labouring.
Preparing the area will mean removing any debris, turf and/or topsoil.
You will need to dig out the area to a depth of between 50 and 200mm.
We strongly recommend applying a layer of MOT Type 1 to your gravel driveway base. If you plan to include a sub-base, you will need to dig to a depth of 200mm, 150mm for the sub-base and 50mm for the driveway gravel.
If you have sufficient access, hiring a micro digger to excavate the driveway will complete this job in a fraction of the time it would take to dig it manually.
Bullimores offer domestic and trade plant hires at competitive rates with a next-day delivery service for the Leicestershire, Cambridgeshire, Northamptonshire, Buckinghamshire and Bedfordshire regions. Click to get a quote.

STEP 5: LAY THE GRAVEL DRIVEWAY SUB-BASE
MOT Type 1 aggregate is a bulk fill and levelling material that will ensure your driveway remains stable and doesn’t sink under the weight of vehicles. The MOT Type 1 consists of crushed rock graded from 40mm down to dust.
Once you’ve laid your sub-base, you must ensure your driveway is flat and compacted. The easiest way to do this is by hiring a roller to compress the base layer.
STEP 6: DECIDE ON A WEED-PREVENTION MEMBRANE
We highly recommend using a Weed Prevention Membrane to prevent unwanted weeds from forming and to allow water to drain through your gravel surface. You can buy this from any hardware merchant; somewhere like B&Q or Screwfix will sell this product in the UK.
Before you order your membrane, remember to include the amount needed to overlap the membrane along the edges (60mm – 70mm) when measuring the amount to order, and think about choosing a reasonably thick membrane that will resist damage in a high-traffic area.
TOP TIP: Be aware, that the thicker the membrane, the harder it can be to cut.
Once ordered, cut the sheet to your desired shape and place it on top of your compacted MOT Type 1. Make sure your fabric overlaps over the joints and edges of the drive, and once laid, carefully space pegs around the fabric to hold it securely into place.
We recommend using one peg for every 1m around the edges of the weed barrier and along any overlapping edges. Cut away any excess fabric once the membrane is secured.

STEP 7: DECIDE ON A GRAVEL GRID
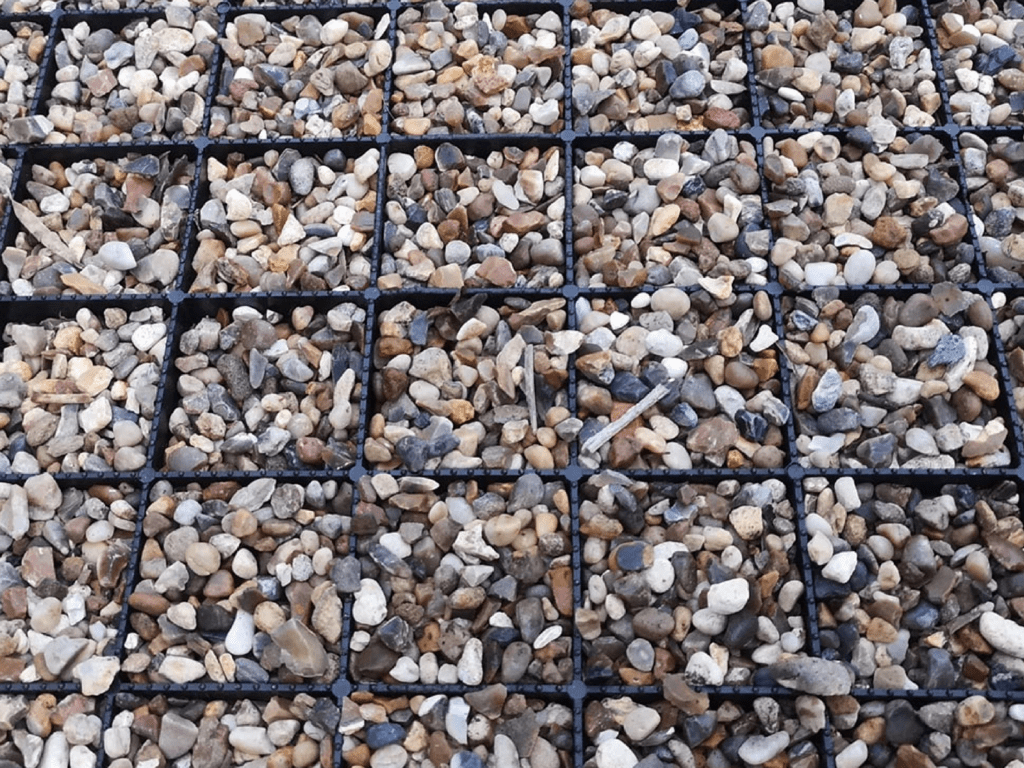
A gravel grid is a gridded plastic mat designed to hold gravel in place and prevent it from shifting or settling unevenly.
Overall, gravel grids can be a good solution for anyone using gravel to create a stable, durable, and low-maintenance surface.
The negative is that they will add cost to your project. However, the additional cost will help extend the lifespan of your gravel surface and will save you money in the long run.
If this looks like an option for you, then all you need to do is simply find an online supplier by searching ‘Gravel Grids.’, there are loads out there, so make sure you check the depth of the grid and the reviews to ensure you’re getting a quality product. We recommend you purchase a 40 mm deep grid product, leaving you with a 10mm overlay for your gravel so that the grid is hardly detectable.
Once you know where you’re purchasing the grids, you can calculate what you need by measuring the surface area and determining how many grids you need to cover it.
The grids come in squares which interlock like a puzzle. To install them, you need to lay them on top of the membrane, joining them together until you have grided the entire surface area, cutting the end of grids to size at the edges.
STEP 8: ADD YOUR GRAVEL TO THE DRIVE
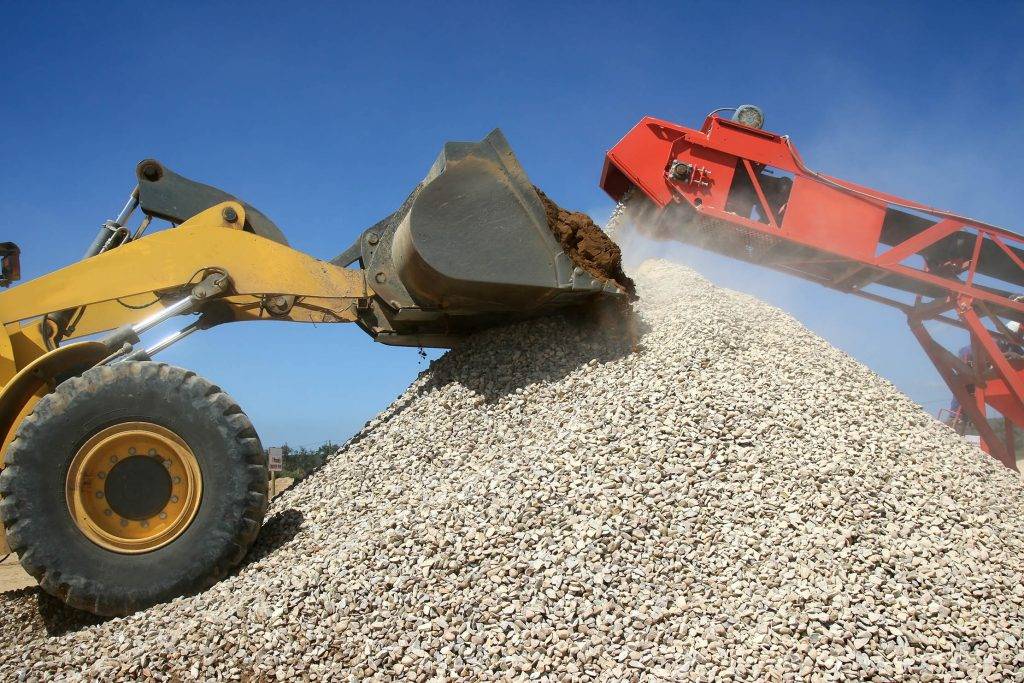
If you’ve ordered your gravel to be delivered in bulk by a tipper vehicle, then timing is key. Try to arrange for the delivery to arrive at this stage when you’re ready to add the gravel to the drive. If there is suitable access, the tipper can tip the gravel directly onto your new driveway. This will save you an incredible amount of time.
From this point, all you need to do is shovel the gravel, spreading it evenly across the surface and into the grids – if you’ve gone that route.
And that’s it. That’s all it really takes: 8 simple steps, a little know-how, and a can-do mentality!
We hope you’ve found this article enlightening and that we’ve answered any questions you may have had regarding laying driveway gravel. If you still have a few questions, please post a comment or read our FAQs below; they may just have the answer you’re looking for.

GRAVEL DRIVEWAY FAQS
HOW TO CLEAN AND MAINTAIN A GRAVEL DRIVEWAY?
Keeping your gravel driveway clean and tidy takes very little effort. Raking the gravel driveway once in a while, especially during the autumn months, removing leaves, twigs, and other debris will keep it looking great. Although you may have a weed prevention membrane, wind-swept seeds can periodically cause weeds to form. Remove these by hand, using gardening gloves, and spray weed killer (or herbicide) containing glyphosate.
HOW MUCH GRAVEL DO I NEED FOR MY DRIVEWAY?
As a general rule of thumb, five tonnes of gravel will cover XXXm2 at a depth of 50mm, which we recommend for gravel driveways (not including the sub-base).
To help you work out exactly how much gravel and MOT Type 1 you need, use our gravel calculator tool or speak to one of our aggregate specialists on 01536 216487, who will be able to provide you with the exact quantities you need for your project.
HOW DEEP SHOULD MY GRAVEL DRIVEWAY BE?
You will need to dig out the area to a depth of between 50 and 200mm.
We strongly recommend applying a layer of MOT Type 1 to your gravel driveway base. If you plan to include a sub-base, you will need to dig to a depth of 200mm, 150mm for the sub-base and 50mm for the driveway gravel.
CAN A GRAVEL DRIVEWAY BE LAID ON A SLOPE?
Yes, you can lay a gravel driveway on a slope; however, we recommend using a driveway grid to hold the stone in place to prevent loose gravel from being displaced towards the bottom of the slope.


